Mr. Saturn is not what I would call a well known video game character. Many people only recognize Mr. Saturn as a pretty worthless item in the Super Smash Bros series that you can throw at other players. Mr. Saturn is more than a pointless Super Smash Bros. item though. Mr. Saturn actually comes from the Super Nintendo cult classic Earthbound. While Mr. Saturn(s) are not main characters in Earthbound, they are one of the most memorable characters in my opinion. In the original Earthbound they provide aid to the main heroes. Mr. Saturn(s) also appears in Mother 3 but since Nintendo has still not released the game outside of Japan I have not yet been able to play it.
Despite being kind of obscure, Earthbound is probably my favorite video game of all time. What really stands out to me is the creativity and originality in the game. I still remember renting the game from a local rental store when the game first came out. The main reason I even looked at it was because it looked so weird. Eventually I ended up buying it on clearance a year or two later which is kind of funny based on how much the game is currently worth.
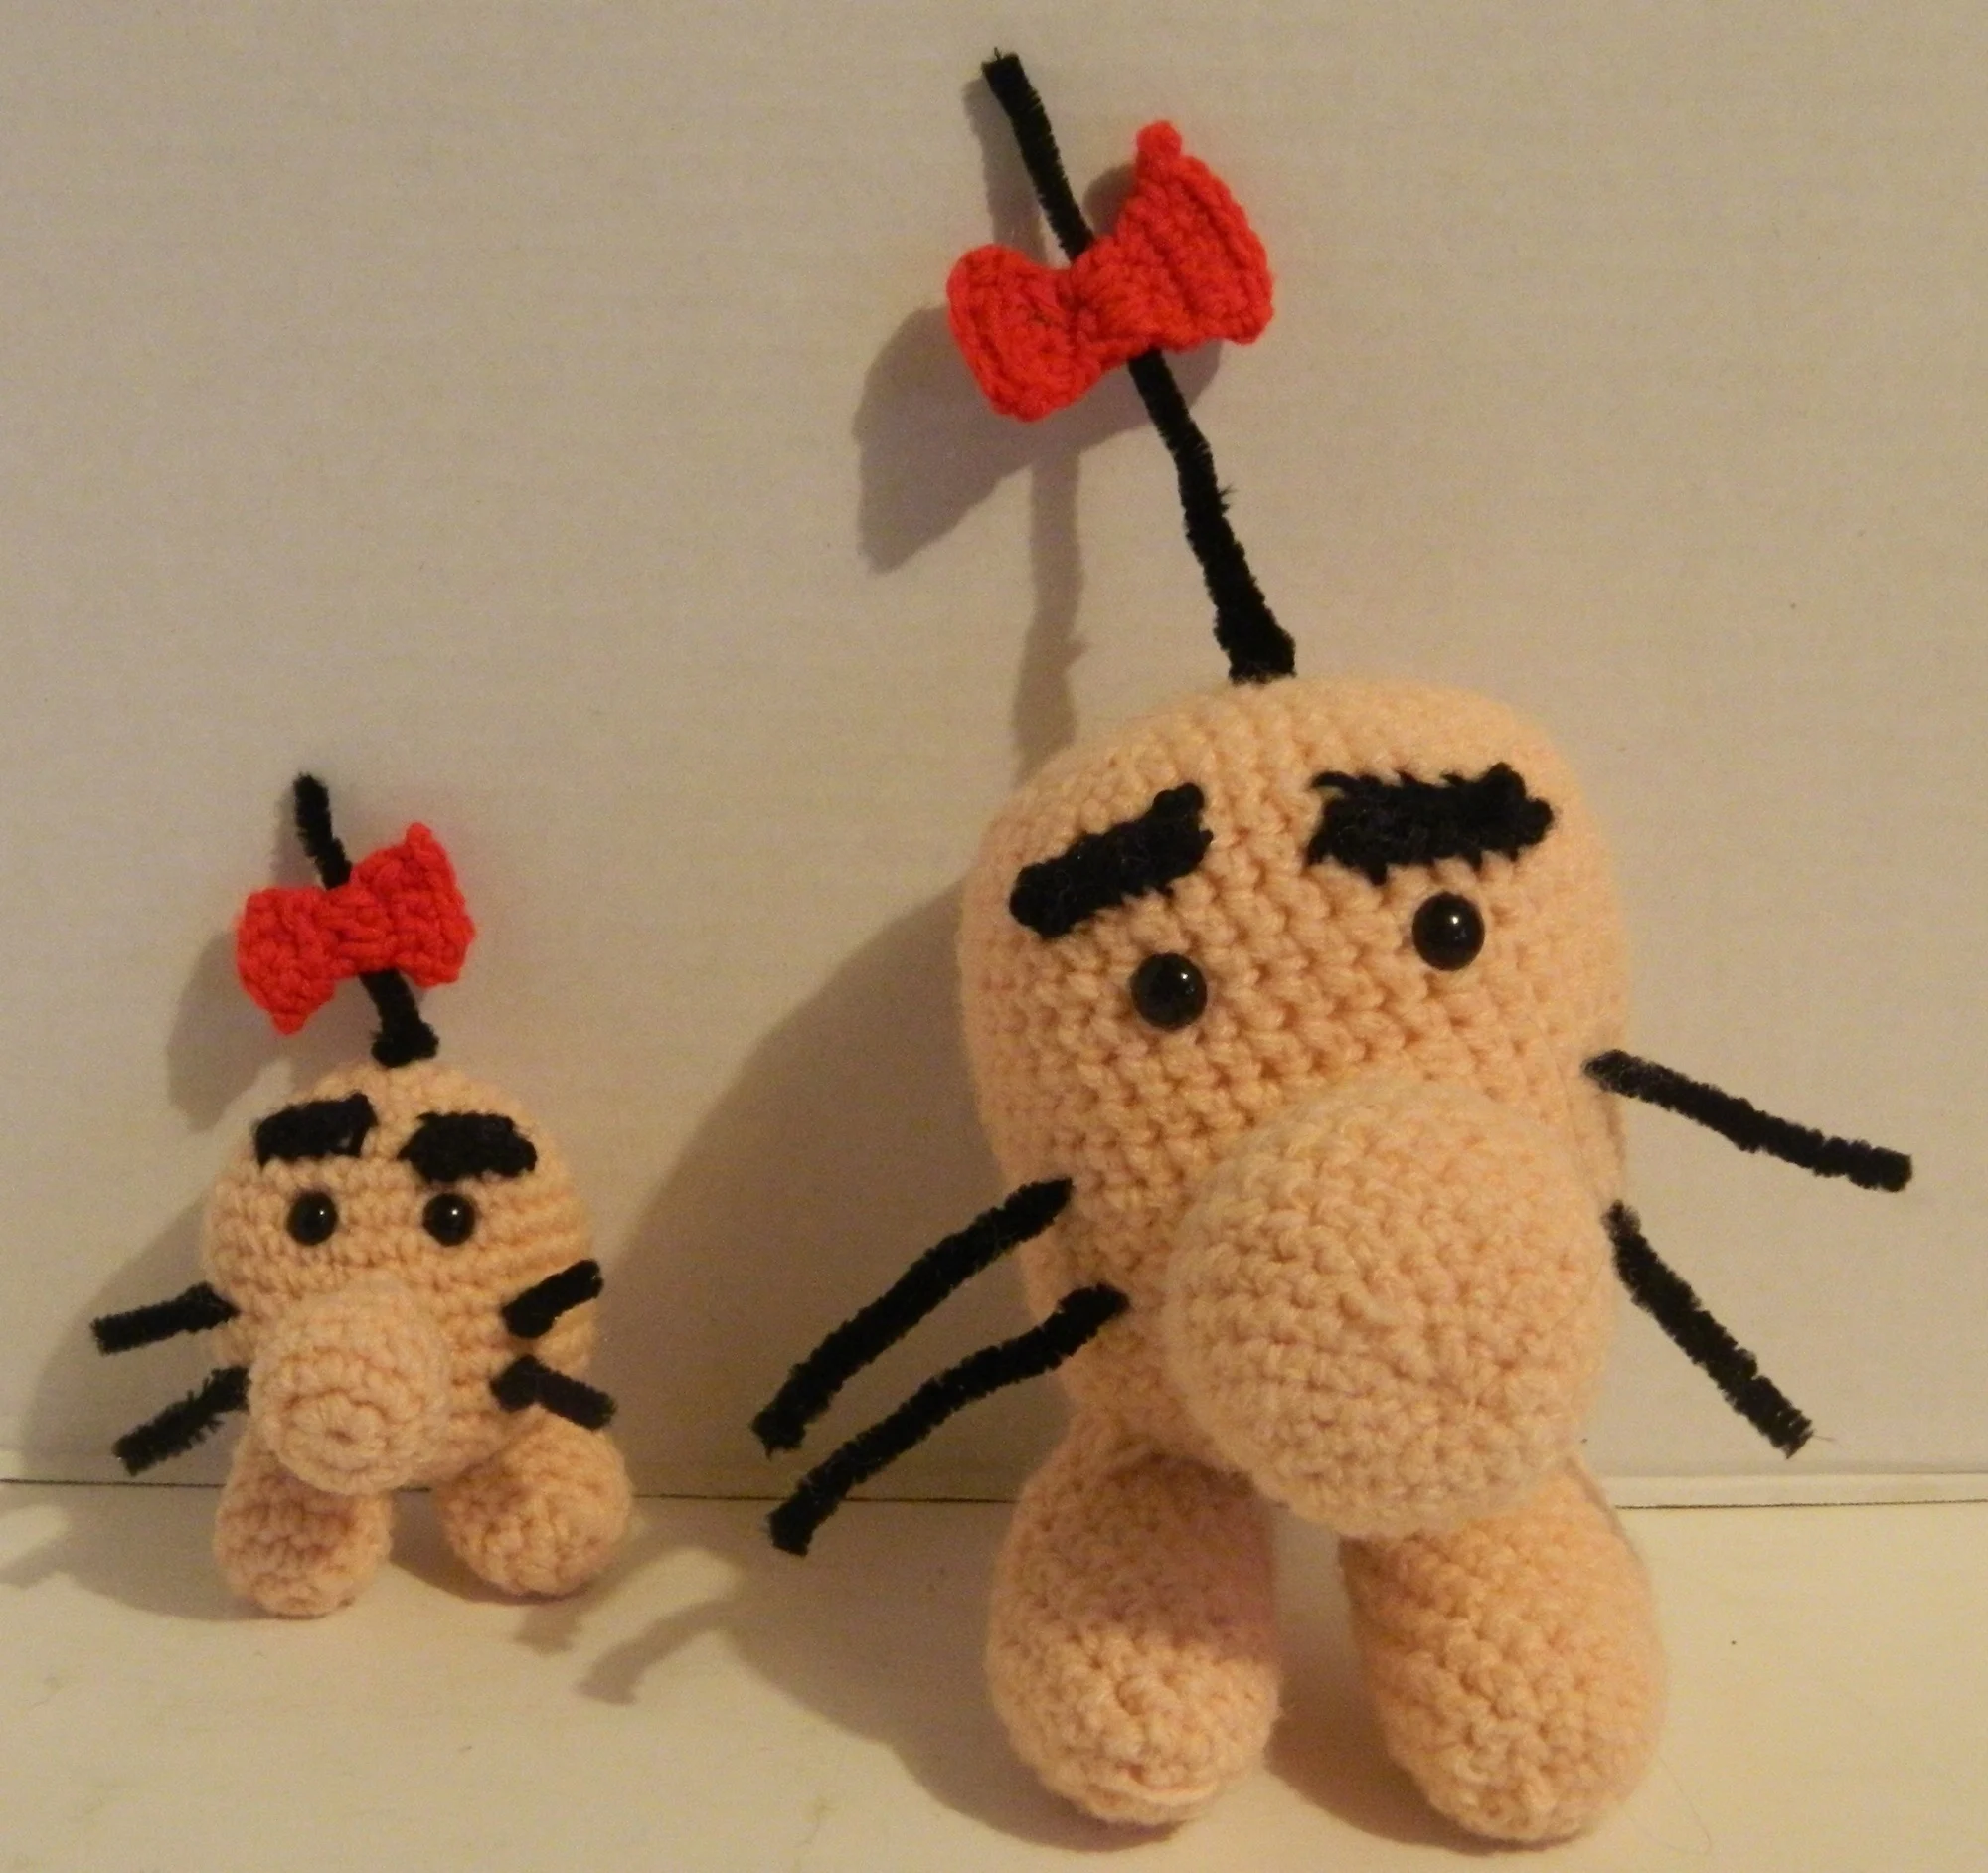
For most patterns I will only make one version of the character but I ended up making two versions of Mr. Saturn. I originally made the larger Mr. Saturn which ended up quite a bit larger than I wanted since Mr. Saturn(s) are actually quite small. The larger Mr. Saturn is about eight inches tall. After creating a few more amigurumis I made a second smaller Mr. Saturn which stands at about 3.5-4 inches tall. Both patterns can be found below.
What You Need to Know
Difficulty: Easy
In order to follow the Mr. Saturn patterns you need to know how to perform the following stitches:
- Slipknot | Tutorial
- Chain Stitch (CH) | Tutorial
- Single Crochet Stitch (SC) | Tutorial
- Increase (Inc) | Tutorial
- Decrease (Dec) | Tutorial
- Double Crochet (DC) (Only needed for the larger Mr. Saturn) | Tutorial
- Fastening Off | Tutorial
What You Need
- Lighter peach yarn Buy on Amazon
- A small amount of black yarn Buy on Amazon
- A small amount of red yarn Buy on Amazon
- Two 12 mm black plastic safety eyes (large Mr. Saturn) Buy on Amazon
- Two 9 mm black plastic safety eyes (small Mr. Saturn) Buy on Amazon
- Black pipe cleaners Buy on Amazon
- E/4 3.50 MM Crochet Hook Buy on Amazon
- Crochet needle Buy on Amazon
- Stitch markers Buy on Amazon
- Stuffing Buy on Amazon
Pattern For Large Mr. Saturn
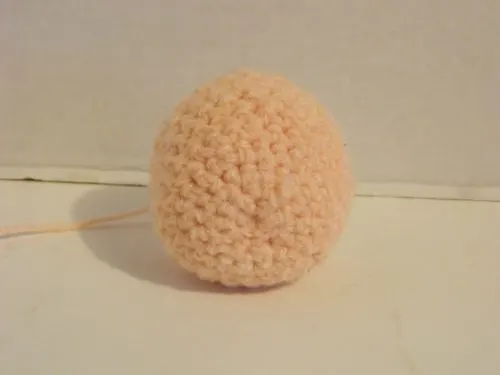
Body
Use peach yarn.
Round 1: CH X 2 (2 stitches)
Round 2: SC X 6 in the first CH (6 stitches)
Round 3: Inc X 6 (12 stitches)
Round 4: |Inc, SC| X 6 (18 stitches)
Round 5: |SC, Inc, SC| X 6 (24 stitches)
Round 6: |SC X 2, Inc, SC| X 6 (30 stitches)
Round 7: |SC X 2, Inc, SC X 2| X 6 (36 stitches)
Round 8: |SC X 3, Inc SC X 2| X 6 (42 stitches)
Round 9-24: SC X 42 (42 stitches)
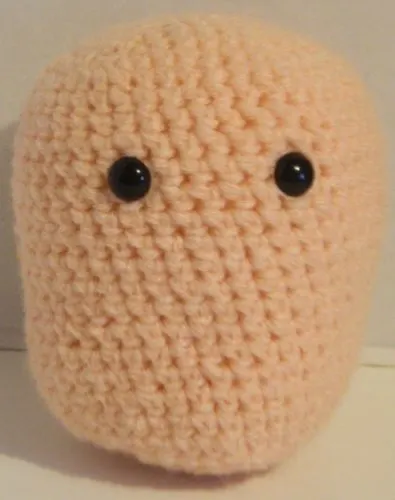
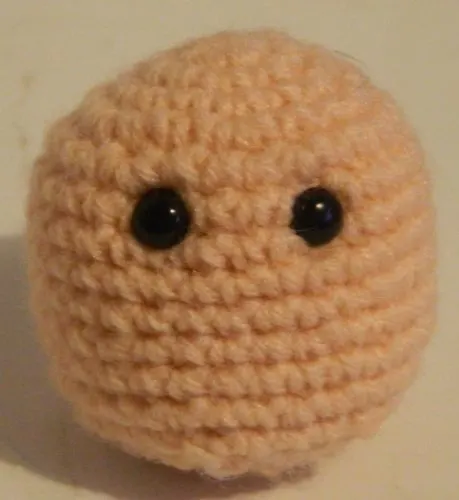
Attach two black safety eyes near rounds 12-13. Separate the two eyes by 6-7 stitches.
Round 25: |SC, Dec, SC, Dec, SC| X 6 (30 stitches)
Round 26: |SC, Dec, Sc, Dec| X 5 (20 stitches)
Round 27: |SC, Dec, SC| X 5 (15 stitches)
You should begin stuffing the body at this point before the hole at the bottom becomes too small to get stuffing into the top of the body.
Round 28: |SC, Dec| X 5 (10 stitches)
Round 29: Dec X 5 (5 stitches)
Round 30: Dec X 2 (2 stitches)
Fasten off and cut the yarn leaving enough yarn to sew up the bottom. Finish stuffing the body until it is as firm as you want and then sew up the bottom.
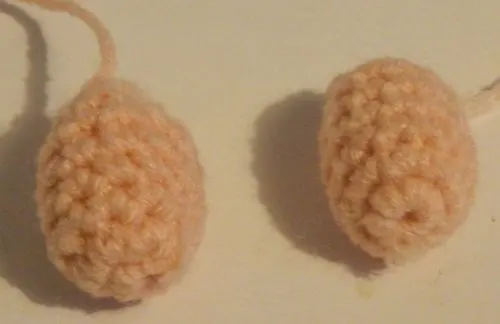
Feet (make two)
Use peach yarn.
Round 1: CH X 2 (2 stitches)
Round 2: SC X 6 in the first CH (6 stitches)
Round 3: |SC, Inc| X 3 (9 stitches)
Round 4: |SC, Inc, SC| X 3 (12 stitches)
Round 5: |SC, Inc, SC| X 4 (16 stitches)
Rounds 6-8: SC X 16 (16 stitches)
Rounds 9-13: SC X 8, DC X 8 (16 stitches)
Round 14: Dec X 4, DC X 8 (12 stitches)
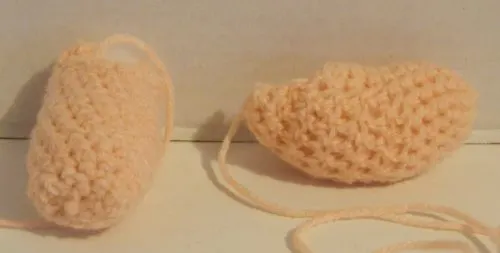
Fasten off and cut the yarn leaving enough yarn to sew the foot to the body. Stuff the foot with stuffing.
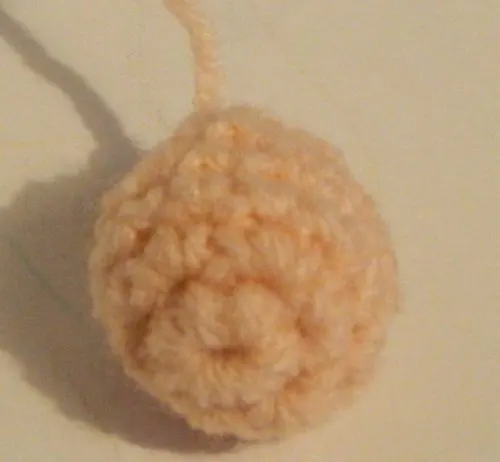
Nose
Use peach yarn.
Round 1: CH X 2
Round 2: SC X 6 in the first CH (6 stitches)
Round 3: Inc X 6 (12 stitches)
Round 4: |Inc, SC| X 6 (18 stitches)
Round 5: |SC, Inc, SC| X 6 (24 stitches)
Rounds 6-12: SC X 24 (24 stitches)
Round 13: |SC, Dec, SC| X 6 (18 stitches)
Fasten off and cut the yarn leaving enough yarn to sew the nose to the body. Stuff the nose with stuffing.
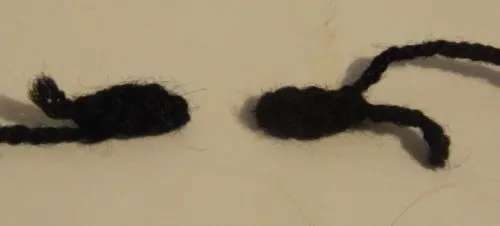
Eyebrow (make two)
Use black yarn.
Round 1: CH X 7 (7 stitches)
Round 2: SC X 6 (6 stitches)
Fasten off and cut the yarn leaving enough to sew the eyebrow to the body.
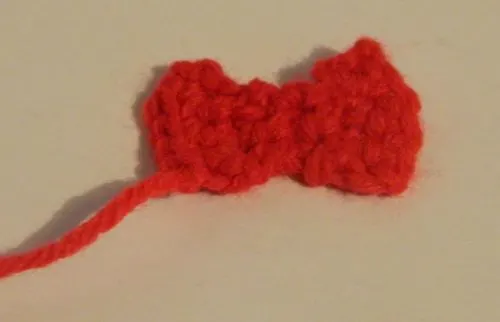
Bow
Use red yarn.
Round 1: CH X 6 (6 stitches)
Round 2: SC X 5 (5 stitches), flip
Round 3: SC X 4 (4 stitches), flip
Round 4: SC X 3 (3 stitches), flip
Round 5: SC X 2, CH (3 stitches), flip
Round 6: SC, Inc, CH (4 stitches), flip
Round 7: SC X 2, Inc, Ch (5 stitches), flip
Round 8: SC X 3, Inc, Ch (6 stitches), flip
Round 9: SC X 4, Inc (6 stitches), flip
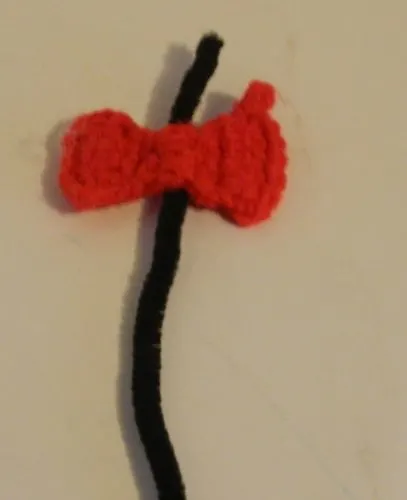
Fasten off and cut the yarn leaving enough yarn to sew the bow to a black pipe cleaner. Use the excess yarn to sew the pipe cleaner to the center of the bow.
Assembly
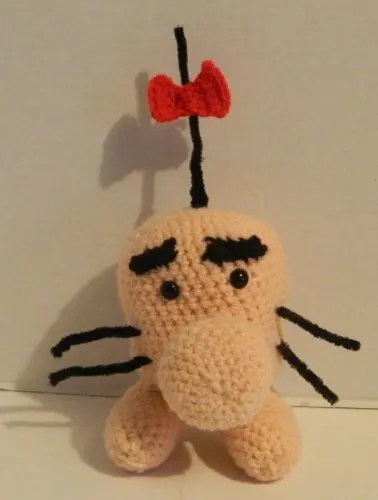
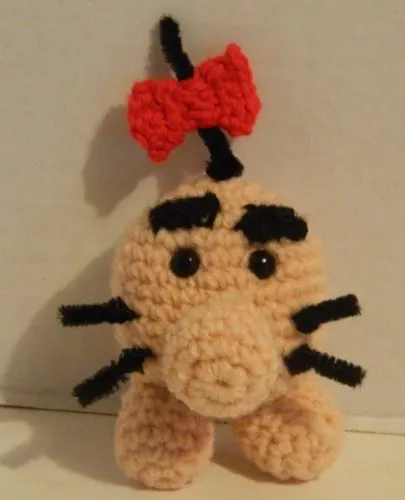
You now have all of the individual pieces of Mr. Saturn completed. You now have to add the pieces together.
First you should add the nose. The nose should be added to the body a couple stitches below the eyes in the center of the body. Use the excess yarn on the nose to sew it to the body. You should sew the nose on so it points downward.
Next you can add the eyebrows. The eyebrows should be placed directly above the eyes with one or two stitches between the eyebrows and the eyes. Use the excess yarn from the eyebrows to sew them to the body.
To attach the feet position them so the back of the feet are near the back of the body. I would recommend holding both feet up to the body at the same time to find the best placement for each foot. Use the remaining yarn from the feet to sew them to the body.
To attach the bow insert the pipe cleaner into two holes at the top of the head. Pull the pipe cleaner through the second hole and start wrapping it around the rest of the pipe cleaner to stabilize it. If the pipe cleaner doesn’t stay in place you can use part of another pipe cleaner to help stabilize it further.
To make the “whiskers” you need to insert pipe cleaners into a stitch to the side of the nose and then pull it out the next stitch. Wrap the two sides of the pipe cleaner together to stabilize the whisker. Add two whiskers to both sides of the nose a couple stitches away from the nose with one whisker a couple stitches above the other whisker.
Pattern for Small Mr. Saturn
Body
Use peach yarn.
Round 1: CH X 2 (2 stitches)
Round 2: SC X 6 in first CH (6 stitches)
Round 3: Inc X 6 (12 stitches)
Round 4: |SC, Inc| X 6 (18 stitches)
Round 5: |SC, Inc, SC| X 6 (24 stitches)
Round 6: |SC X 2, Inc, SC| X 6 (30 stitches)
Round 7-13: SC X 30 (30 stitches)
Insert the safety eyes somewhere between rounds 7-9.
Round 14: |SC X 2, Dec, SC| X 6 (24 stitches)
Round 15: |SC, Dec, SC| X 6 (12 stitches)
Fasten off leaving enough yarn to sew up the bottom.
Nose
Use peach yarn.
Round 1: CH X 2 (2 stitches)
Round 2: SC X 6 in first CH (6 stitches)
Round 3: Inc X 6 (12 stitches)
Round 4-6: SC X 12 (12 stitches)
Round 7: Dec X 6 (6 stitches)
Fasten off leaving enough yarn to sew the nose to the body.
Eyebrows (make two)
Use black yarn.
Round 1: CH X 4 (4 stitches)
Round 2: SC X 3 (3 stitches)
Fasten off leaving enough yarn to sew the eyebrows to the body.
Feet (make two)
Use peach yarn.
Round 1: CH X 2 (2 stitches)
Round 2: SC X 6 in first CH (6 stitches)
Round 3: Inc X 6 (12 stitches)
Round 4-7: SC X 12 (12 stitches)
Round 8: Dec X 6 (6 stitches)
Fasten off leaving enough yarn to sew the feet to the body.
Bow
Use red yarn.
Round 1: CH X 5 (5 stitches), Flip
Round 2: SC X 4 (4 stitches), Flip
Round 3: SC X 3 (3 stitches), Flip
Round 4-6: SC X 2, CH (3 stitches), Flip
Round 7: Inc, SC, CH (4 stitches), Flip
Round 8: Inc, SC X 2, CH (5 stitches), Flip
Round 9: Inc, SC X 3 (5 stitches)
Fasten off leaving enough yarn to sew the bow to the black pipe cleaner.
Assembly
Since the small Mr. Saturn has basically the same parts as the larger Mr. Saturn, you can follow the assembly instructions found in the large Mr. Saturn section.

